Well the nice weather is here and my engine is in bits, so have re-visited the alternator situation. Just to recap, the Bedford Bambi uses the Mitsubishi 40 amp alternator fitted as standard and this is fine for normal use. Where it falls down is during slow moving traffic when the fridge is in use and the lights are on.
The rated 40 amp output won’t be attained until the engine gets to around 3000RPM, at tickover and just above you will be lucky to get 15 amps from it. The fridge takes 8 amps, the lights (halogen H4) around 12 amps, the ignition and fuel pump around 3 amps. You don’t need a calculator to work out that it’s a potential problem. The split charge relay will drop out and the beer will stop being chilled – clearly, an unacceptable situation 🙂
It didn’t used to bother me, indeed I hadn’t even noticed it until I started driving through Czech Republic, Poland and Italy. For many countries in Europe it’s mandatory to have dipped headlights on at all times.
Anyway, the current status was I had upgraded the wiring and fusible link to take the bigger alternator (the existing wiring does not have the capacity for an upgrade). I’d bought a 70A alternator from the scrappies off an older Peugeot 106 as it seemed to tick all the boxes. All I was waiting for was some nicer weather to go and fashion some brackets to hold the replacement alternator on.
The little Peugeot alternator I bought from the scrappies didn’t look to healthy so I decided to buy new one. Now I have a choice of anything I want, the spec was left hand mounting, 70A or thereabouts and bolt terminals rather than spade. I now possess a Lucas / Magneto Marelli clone alternator with 75A peak output for only £55 (brand new, not exchange, incl. delivery).
This will give 75A output and will match the maximum 40A output of the old alternator without going much above tickover giving enough juice to ensure the fridge always works and the leisure battery gets a decent topup. The A127 is one of the most popular alternators in the UK so replacements should not be a problem in years to come.
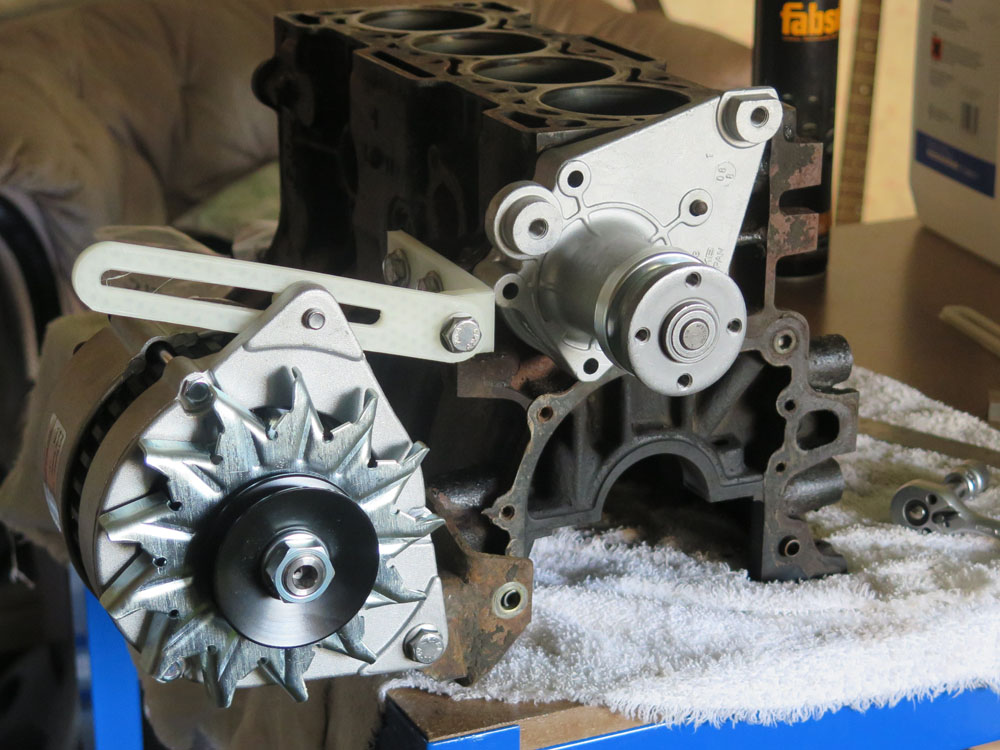
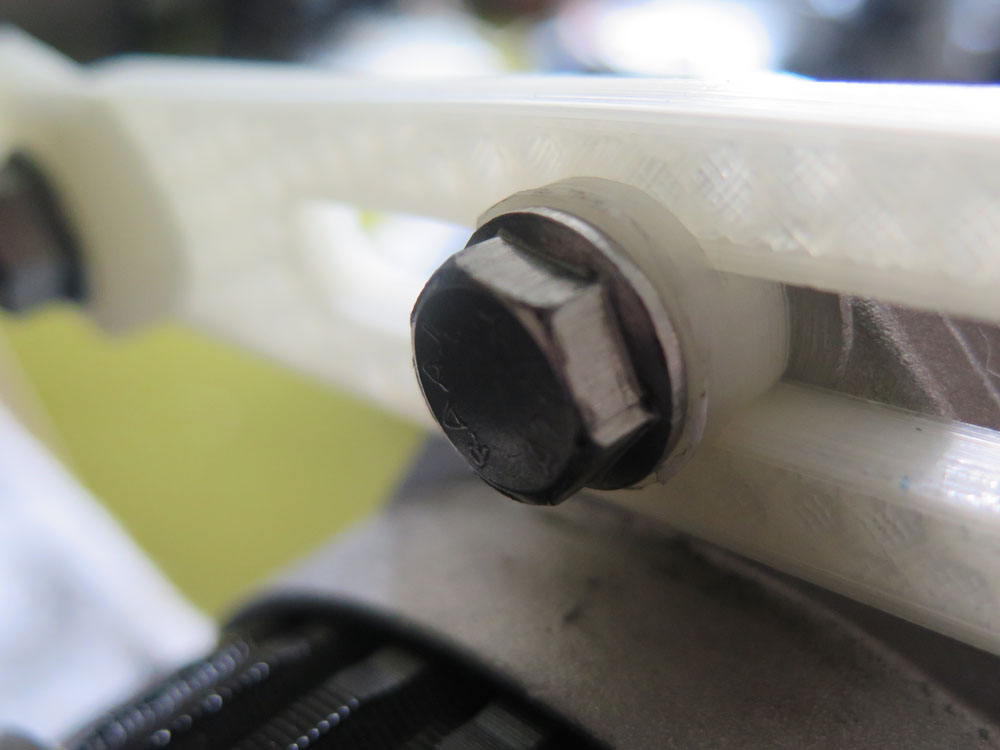
So…. just some brackets to make. I did some drawings a while back for a revised bottom bracket but have now decided to keep that and change the top bracket instead. There should be some pictures below showing the new bracket, link arm and slotted washer which hold the new boy in place. These were made in plastic (PLA) on my home made 3D printer just to get the idea and spacing right. I’ve got some 1″ x 1/4″ mild steel flat on its way to me so should be fabricating the real brackets in the next week or so.
The only other mod required is at the rear mounting, the alternator is deeper than the original so it’s shy of the bracket by around 15mm. I can weld a spacer to the rear of the bracket to sort that one out. It can be cut/ground off if I want to go back to original for any reason.